Settings serves as the main hub for overseeing every aspect of your project. This includes managing configuration, members, billing, roles, API keys, integrations, and security logs. Each section in this article aligns with a tab in Settings, offering detailed insights into the function and usage of each tab, along with some best practice tips. Here you will find deails abou the features and settings available in the General tab.
Note: Some tabs may be hidden based on your role. Contact your project admin if you need access to specific settings.
Project Settings provides comprehensive control over:
Features
Table of Contents
Project Configuration: Name, description, visibility, and feature settings.
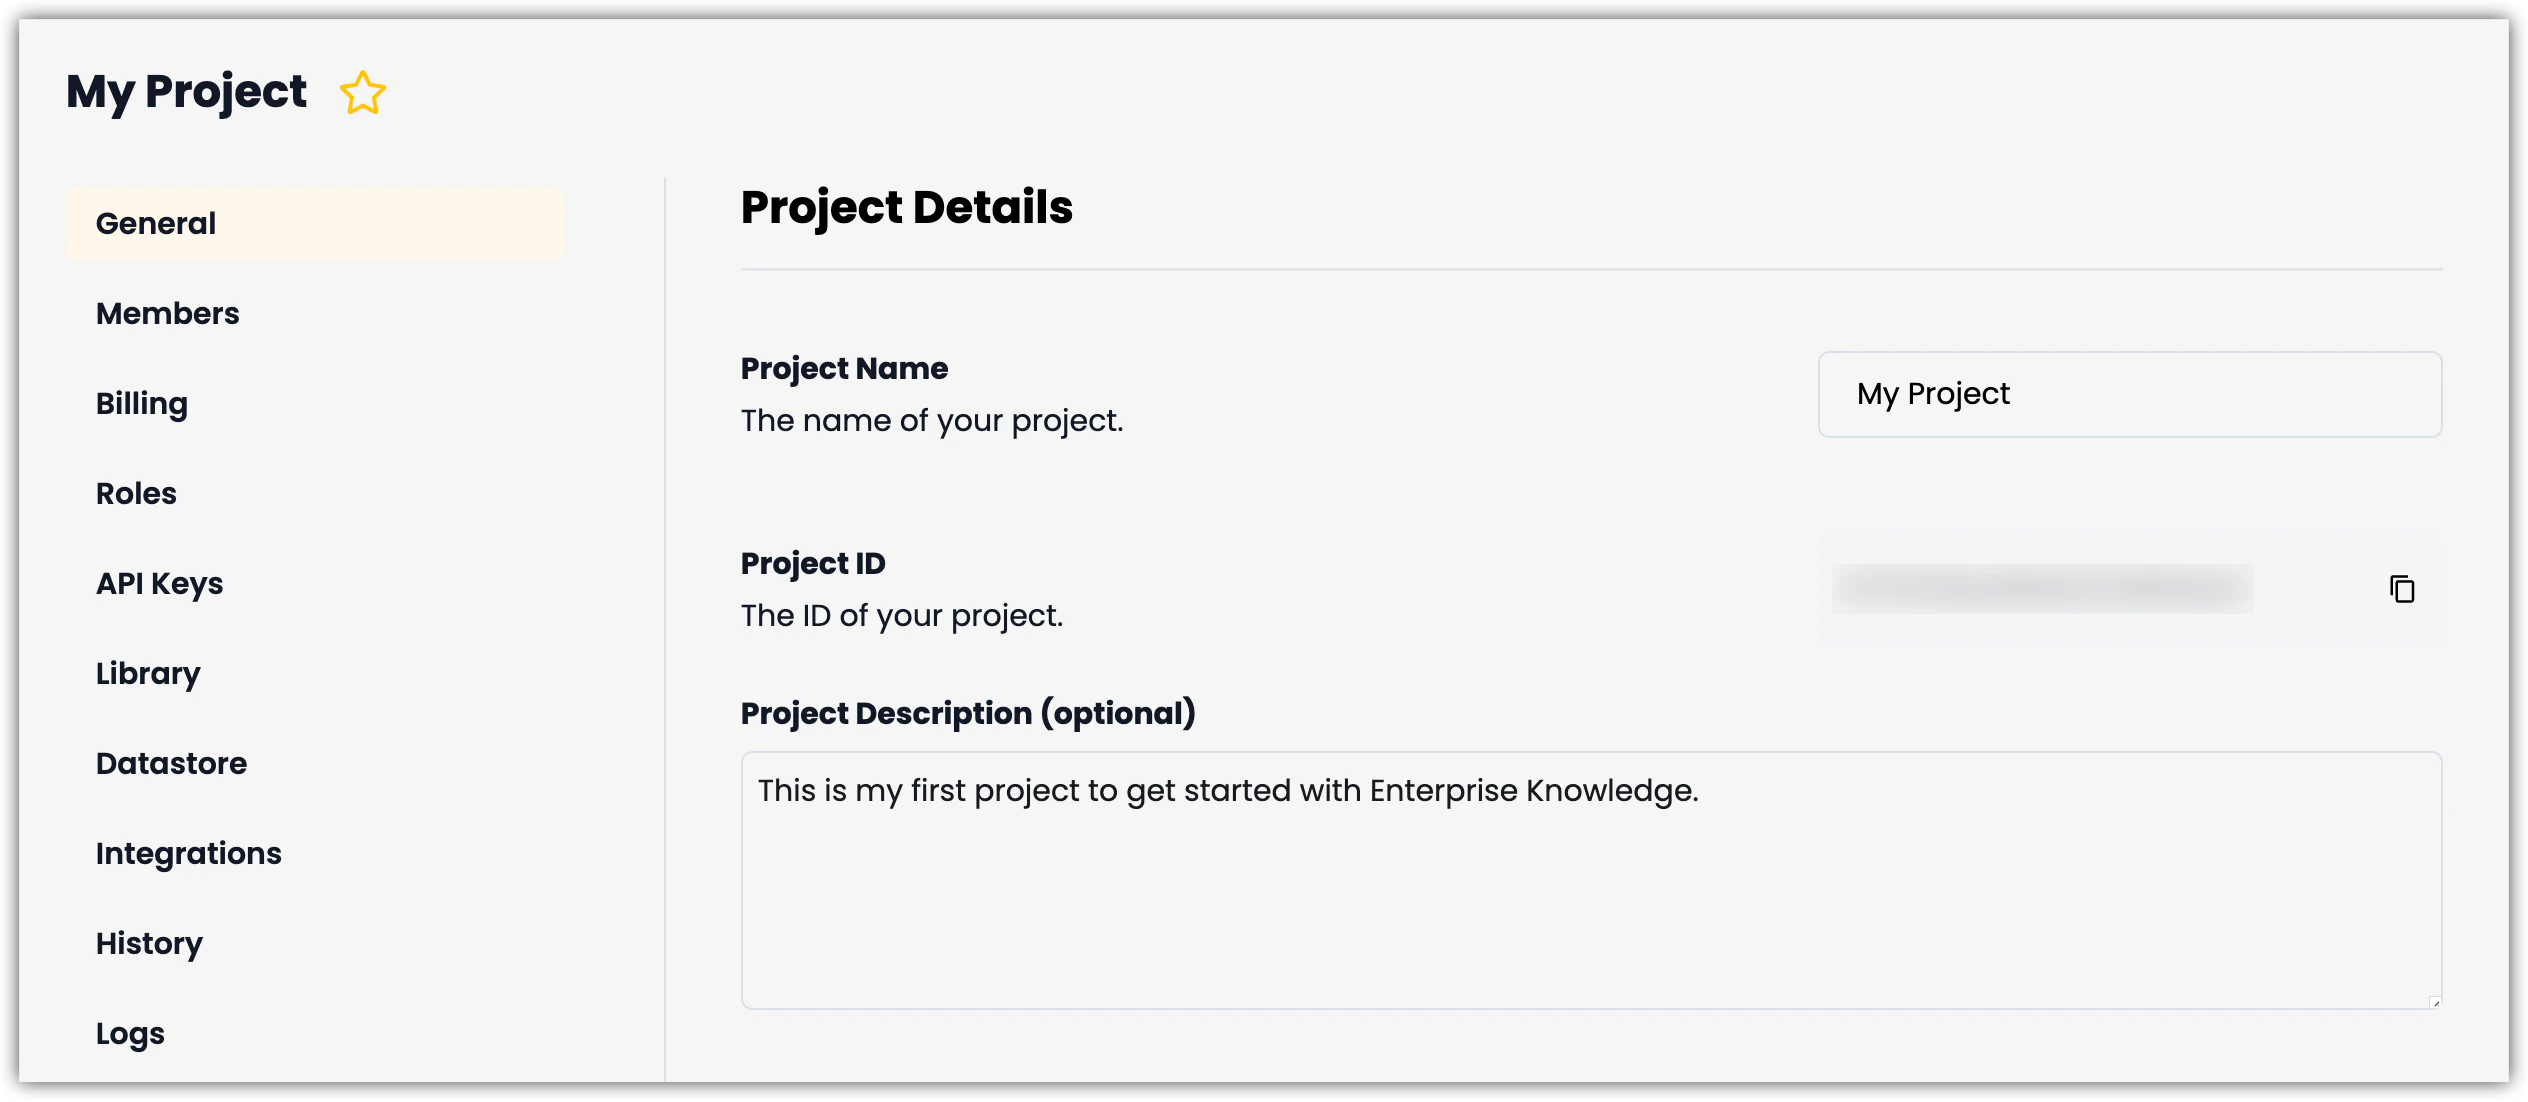
Project Name: When you craeted your project you named it. If you want to change the name you can edit it here and select the Update button to save your change.
Project ID: This is the unique ID that is assigned to your project. Use the copy icon to copy it to your clipboard.
Project Description (optional): Although this is optional, as a best practice we recommend giving your project a clear description that will help your teammates understand what it’s purpose it and who might find it useful.
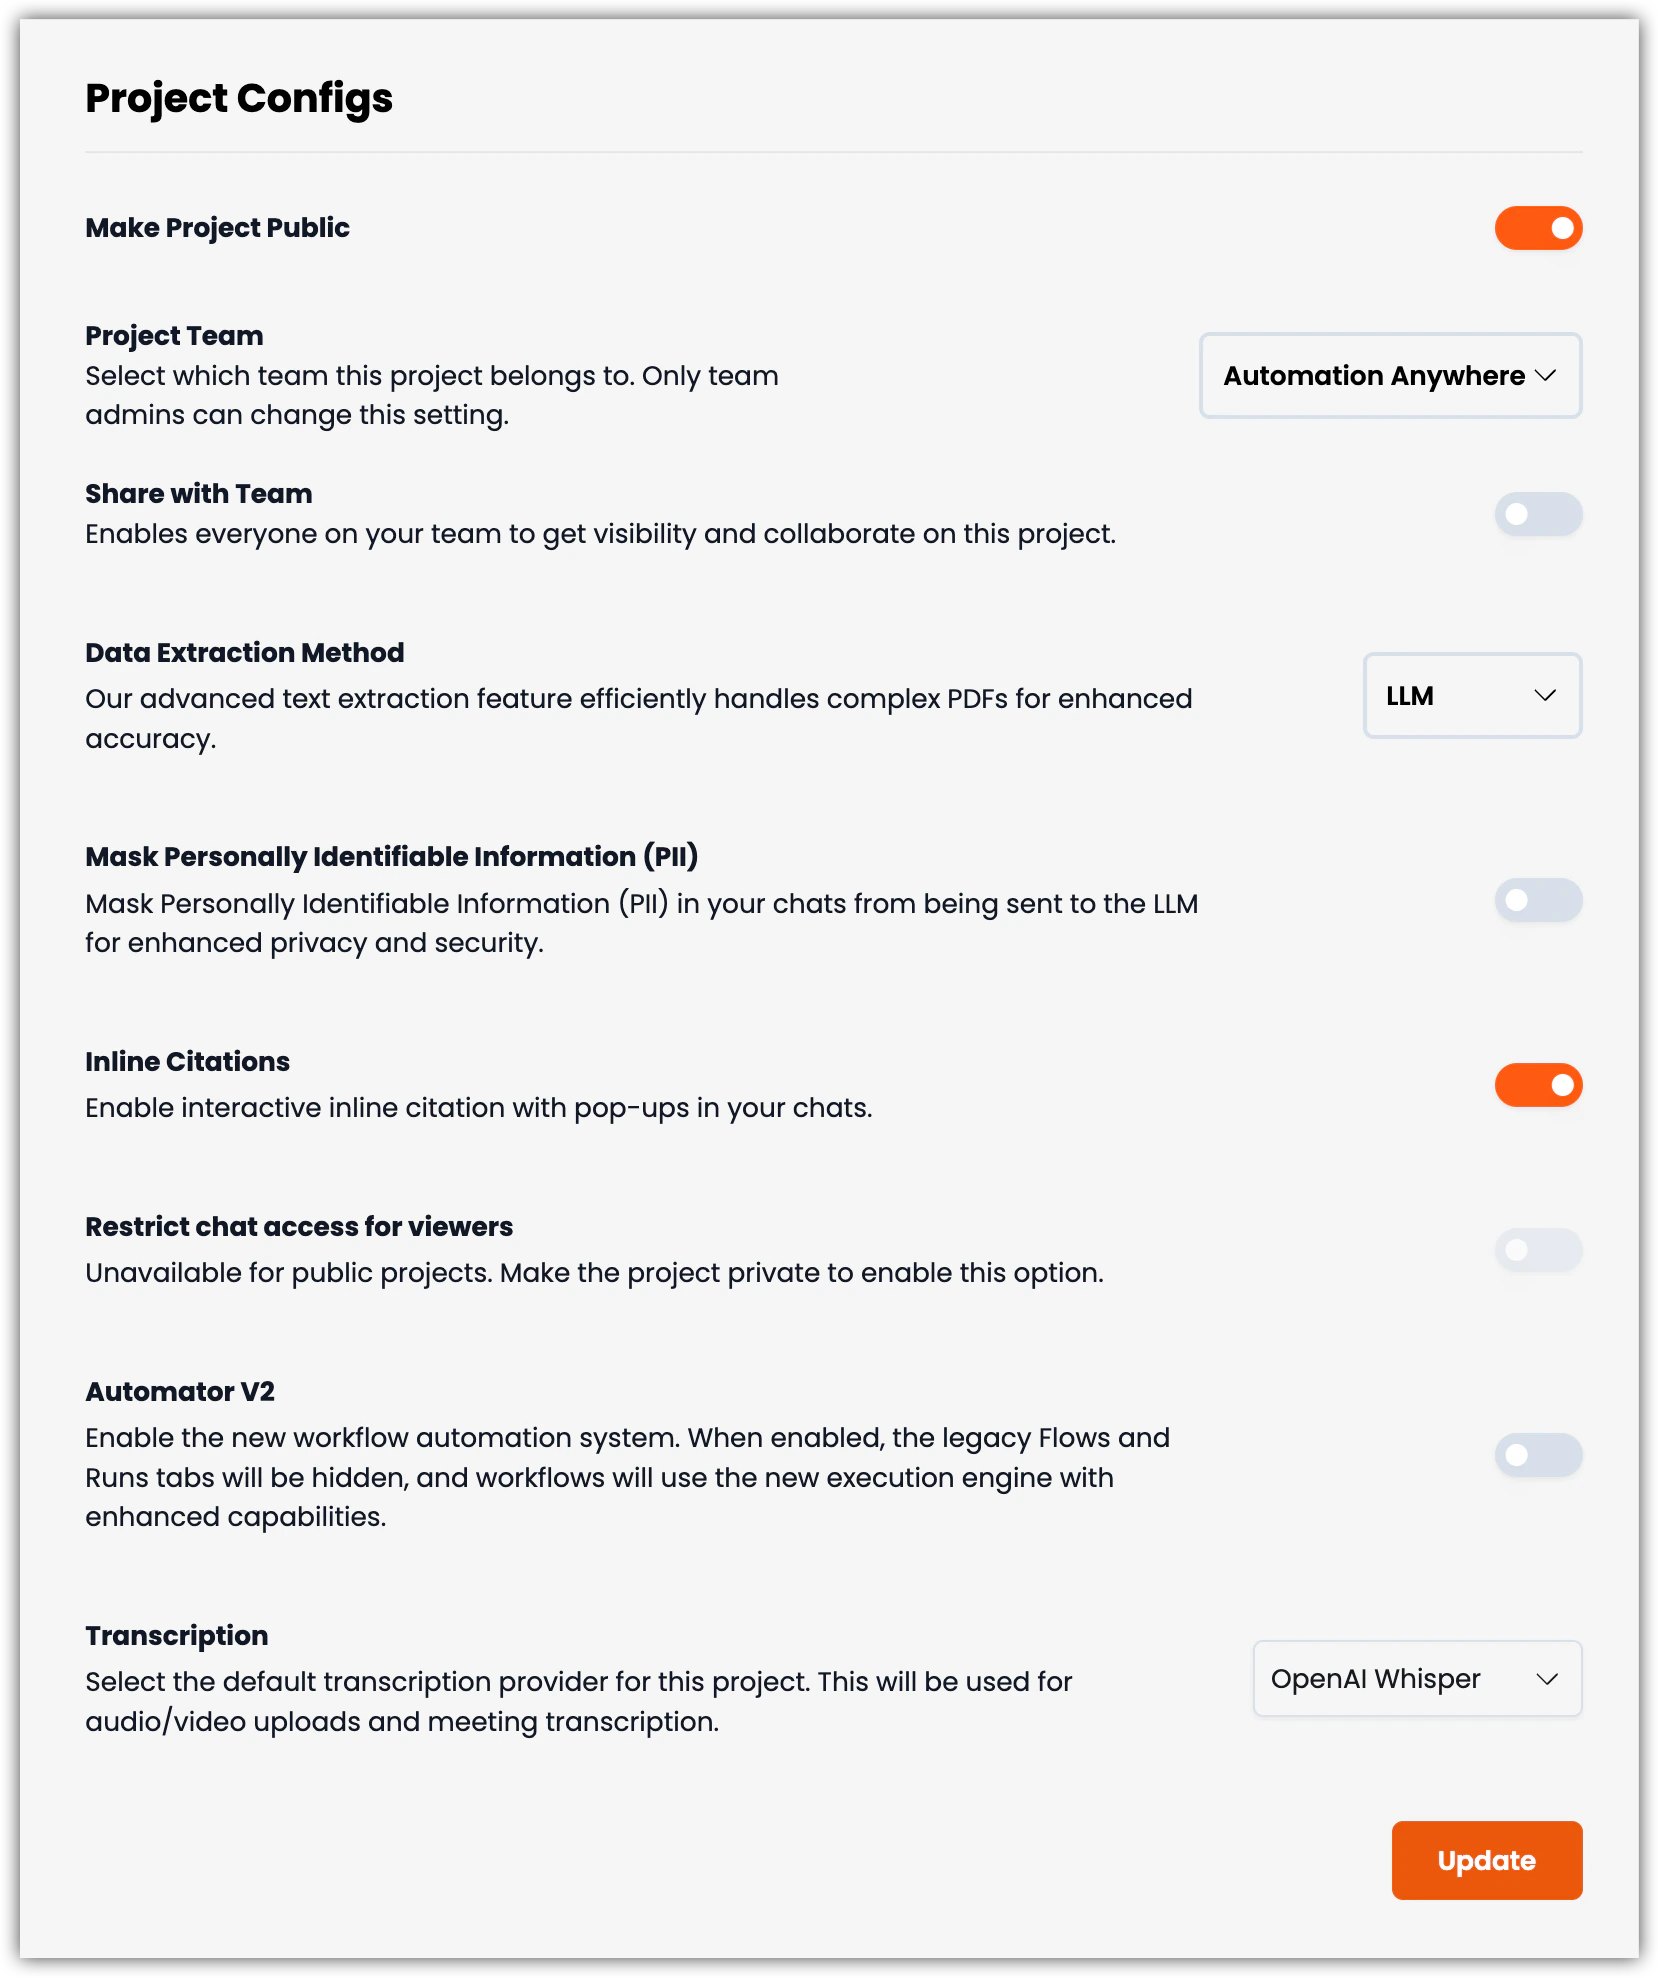
Make Project Public: Make your project publicly accessible and visible to others in your EKB instance or On-Premise installation.
Project Team: Choose the team that this project belongs to. Only team administrators have the ability to modify this setting.
Share With Team: Enabling this setting allows everyone in the Project Team to access the project.
Data Extraction Method:
Cloud: The Default method for extracting information into the Knowledge Base uses a code-based solution. The LLM method uses Google Gemini 2.5 Flash.
On-Premise: The Default method for extracting information into the Knowledge Base uses a code-based solution. The LLM method uses your chosen LLM.
Mask Personally Identifiable Information (PII): Enabling this setting removes sensitive Personally Identifyable Information from your chats before being sent to the LLM. This enhances the privacy and securiuty of your application.
Inline Citations: Enabling this feature adds numbered citations within the body of your chat response. At the bottom of the response the numbered citations appear with links to their source.
Automator V2: When activated, the legacy Flows and Runs tabs will be concealed, and workflows will operate using the new execution engine with improved capabilities.
Transcription: This setting defines the transcription provider for audio and video uploads as well as meeting transcription.
Deepgram: Deepgram is known for its high accuracy in transcribing audio, especially in noisy environments. It employs advanced speech recognition technology that can handle various accents and dialects effectively.
OpenAI Whisper: OpenAI Whisper is recognized for its capability to transcribe multiple languages and its robustness in understanding context from conversational speech. Whisper’s integration with OpenAI’s language models allows for enhanced semantic understanding, which can improve the quality of the transcriptions in terms of context and relevance.
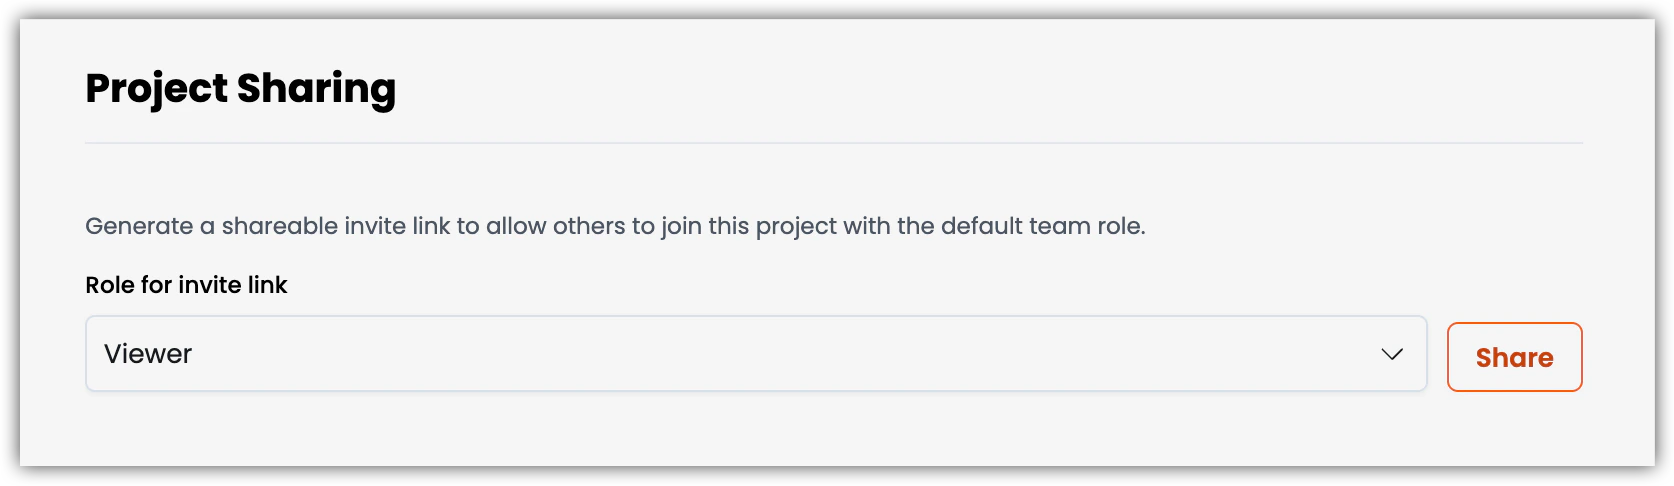
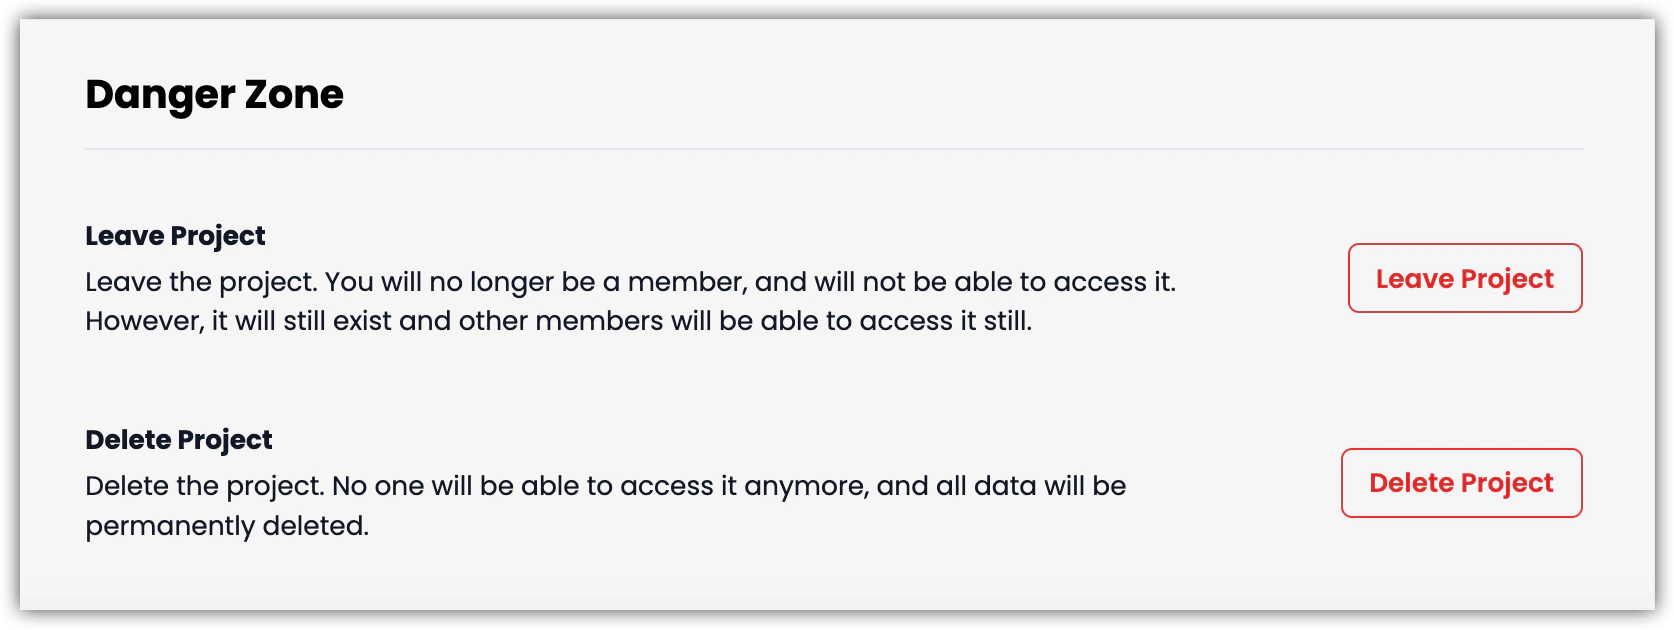
Select a role for the person you want to invite and select the Share button to have a link to your project copied to your clipboard. Whomever you share the link with can use it to become a member and use or modify the project depending on the role you have assigned them to.
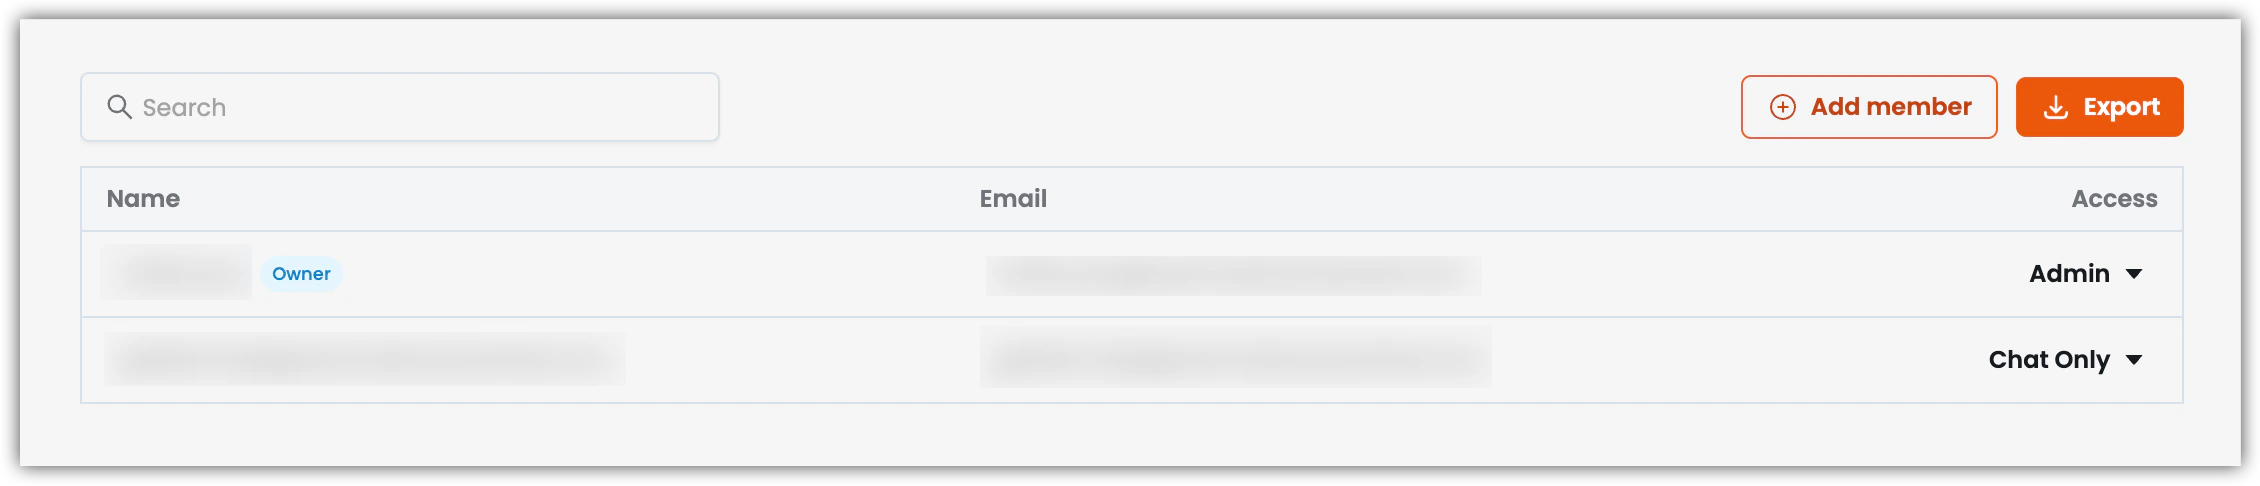
The Members tab allows you to manage and Add Members to your project as well as Export a list of your project’s Members. The Access levels that you find on this tab are controled in the Roles tab.
Info: Only users with appropriate permissions can add or remove members. Project admins have full access to member management.
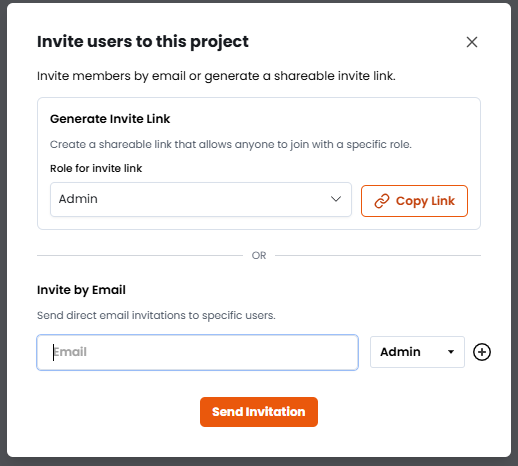
The Add member feature enables you to invite people to your project by sharing a link that grants them acces to the project with the Role you assign or by email. People you invite via email address will receive an email notification and a notification when the login that tells themm they’ve been invited to your project.Select the Add member button and use one of the following methods to invite new members:
Generate Invite Link: Select a Role, then select the Copy Link button to copy a link to your clipboard you can share with your teammates. Anyone who uses the link will automatically be added to the project with the Role you selected when you created it.
Invite by Email: Enter an email address, select a Role from the dropdown, then select the Send Invitation button to send the invitation. Selecting the plus icon to the right of the Role dropdown allows you to add more than one person at a time.
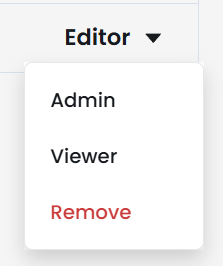
Find the Member whose record you want to delete by browsing or using the Search feature.
Select the Access dropdown of the Member’s record and select Remove to delete their record.
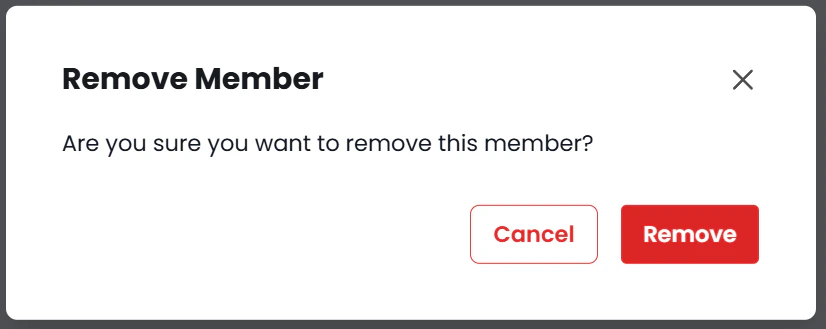
Select the Remove button in the Remove Member confirmation popup to remove the user’s access to your project.
After completing these steps the user will no longer have access to your project, but will still have access to other projects that they are a member of. This action does not delete thier account.
The Export feature produces a CSV file that provides additional detials about the Members of your project. In the CSV file you will find columns for user ID, name, email, team ID, pending status, role ID, role name, the ID of the person who invited them, whether they were invited by email, and the last time they signed in.
Select the Export button to receeive a CSV file with a list of your project’s Members.
On selecting the Export button, the CSV is automatically downloaded to your Downloads folder.
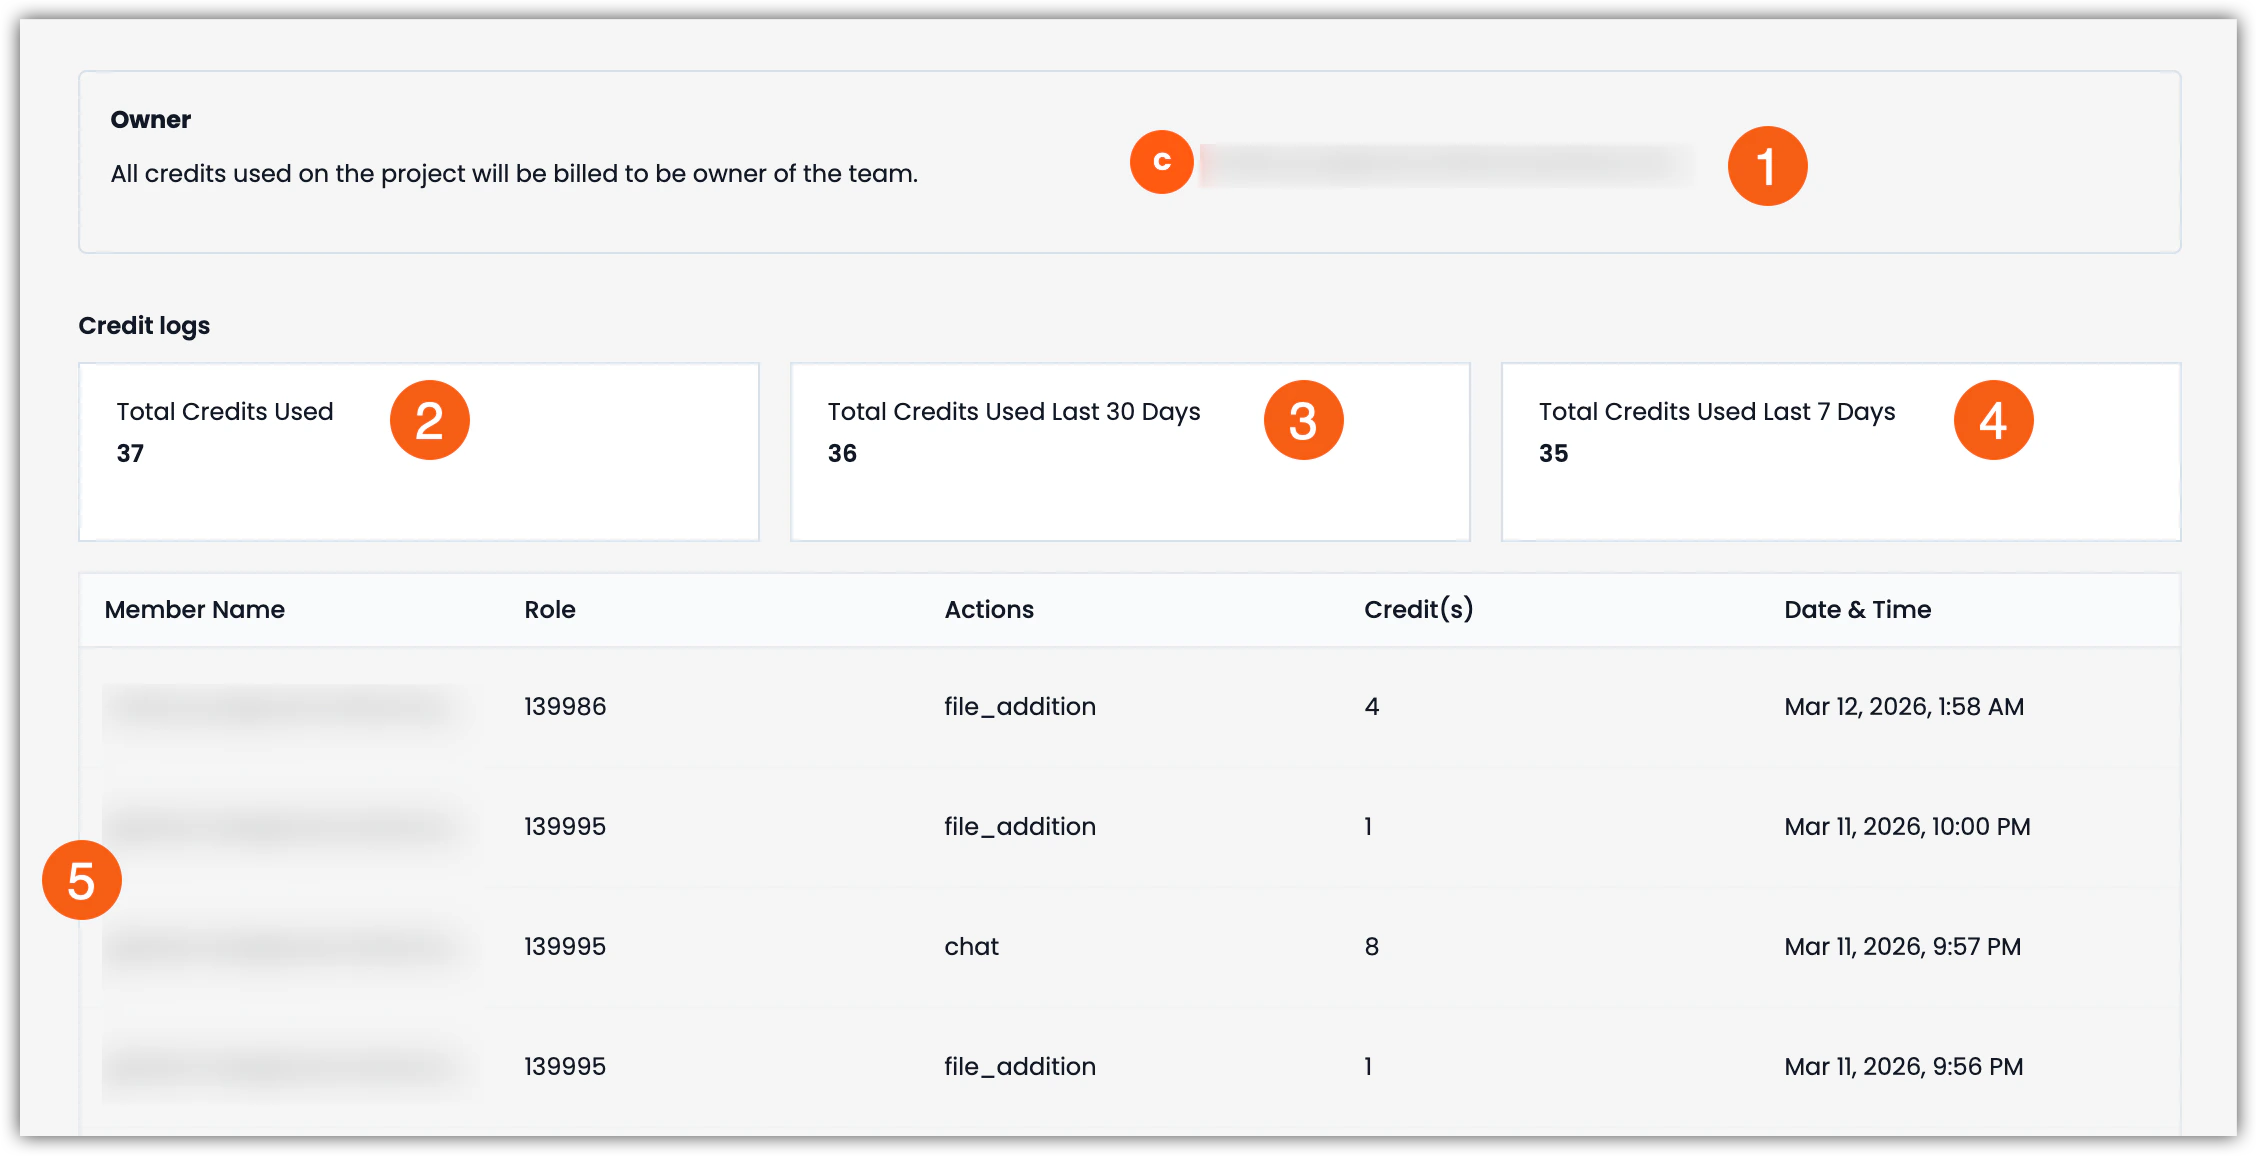
The Billing tab gives you visibility over the credits being used by your project. Credit usage is broken down into total credits used in the last 7 days, last 30 days, and since the project was created. In addition, you will see a list of every chat and the costs associated with them.
Warning: All credits used in the project are billed to the team owner. Ensure you understand your billing plan before heavy usage.
Project Owner’s email where billing will be sent.
Total credits used since the project was created.
Total credits used in the last 30 days.
Total credits used in the last 7 days.
List of individual chat response costs that identifies the Member Name, Role ID, Actions, Credits, and Date & Time.
EKB supports project-level Role-Based Access Control (RBAC) security model, which determines what users can view, create, modify, and manage within a specific project in Enterprise Knowledge. These permissions apply only to the selected project and do not affect a user’s access to other projects or their team-level permissions.Each project starts with three default roles—Admin, Editor, and Viewer—which provide a baseline level of access. To support more complex collaboration models, project Admins can extend these defaults by creating Custom Roles. Custom Roles allow you to define fine-grained permissions for individual features, including chat, actions, agents, knowledge base content, workflows, analytics, settings, and member management.Project-level roles are evaluated independently from team-level roles. This means a user may have broad permissions at the team level (for example, the ability to create projects) while having limited or highly specific permissions within an individual project, depending on their assigned role.By using project-level RBAC, organizations can:
Enforce the principle of least privilege within projects
Assign access based on responsibilities rather than job titles
Safely collaborate with cross-functional or external users
Maintain consistency while still allowing flexibility through Custom Roles
The following sections describe the available default roles, how Custom Roles work, and how to create, modify, and manage roles within a project.
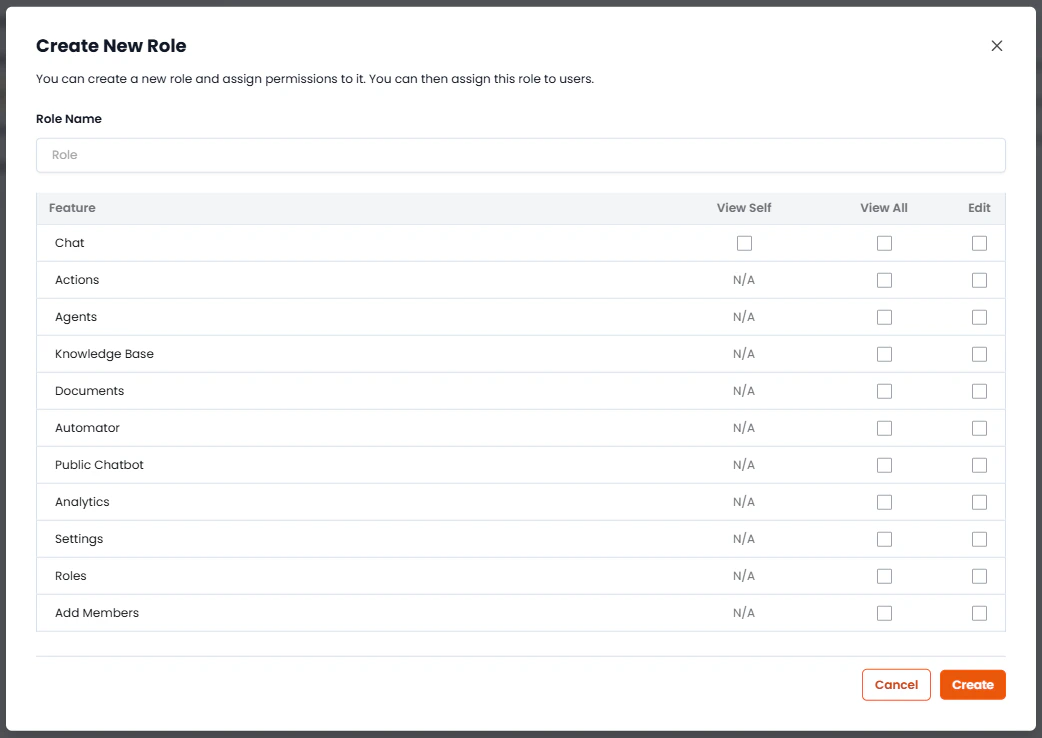
Custom Roles are created by setting the access controls for each of the following settings to View Self, View All, or Edit. Except for Chat, when View All or Edit is not selected, the default setting is N/A, which means the user will either have access only to their own data or will not have access to that feature or action. Details on what “N/A” will mean for a particular feature or action are detailed below.
In the project, navigate to Settings > Roles tab, select the Create New Role button in the upper-right corner of the page.
Enter a name for the Role in the Role Name field.
Select View Self, View All, or Edit for the Chat feature.
View Self: Only allow this Role to view their own chats.
View All: Allow this Role to view any chat created by any team member of this project.
Edit: Allow this Role to edit or delete chats that they can view.
Set one or more of the following permissions to View All or Edit; the default will be N/A for that feature or action.
Actions: Controls access to the Actions (Tools/Workflows) feature.
N/A: Can only access their own Actions.
View All: Can view all Actions created in the project by any member.
Edit: Can Edit all Actions they have access to.
Agents: Controls access to create or modify Agents.
N/A: Can only access their own Agents.
View All: Can view all Agents created in the project by any member.
Edit: Can Edit all Agents they have access to.
Knowledge Base: Controls access to add or modify Knowledge Base content, including Smart Tables.
N/A: Cannot access the Knowledge Base.
View All: Can view all content within the Knowledge Base.
Edit: Can upload, modify, and remove content from the Knowledge Base, including Smart Tables.
Documents: Controls access to the Knowledge Base’s Documents section.
N/A: Cannot access the Documents section of the Knowledge Base.
View All: Can view all Documents in the Knowledge Base.
Edit: Can add, edit, and delete Documents in the Knowledge Base.
Automator: Controls access to Workflows.
N/A: Can only access their own Workflows.
View All: Can view all Workflows created in the project by any member.
Edit: Can Edit all Workflows they have access to.
Public Chatbot: Controls access to the Public Chatbot feature.
N/A: Has no access to this feature.
View All: Can view the Public Chatbot feature.
Edit: Can edit the settings within the Public Chatbot feature.
Analytics: Controls access to the project Analytics feature.
N/A: Cannot access the Analytics feature.
View All: Can view the Analytics page.
Edit: Can modify the data ranges of the Analytics page.
Settings: Controls access to the project Settings feature.
N/A: Cannot access the project Settings feature.
View All: Can view the project’s Settings.
Edit: Can access and modify all project settings.
Roles: Controls access to the Roles feature within project Settings.
N/A: Cannot access the Roles feature within project Settings.
View All: Can view Roles within project Settings.
Edit: Can add, modify, and delete Roles within project Settings.
Add Members: Controls whether the user can add, modify, or remove Members from the project.
N/A: Cannot add, modify, or remove Members from the project.
View All: Can view the project members.
Edit: Can add, modify, or remove Members from the project.
Select the Create button after you have set the permissions you want. After selecting the Create button, the new Custom Role will appear in the Roles list on this page and in the Roles dropdowns used to create Members and modify their access.
The API Keys tab of your project’s Settings is where you can easily generate and label API keys, allowing you to seamlessly connect to the platform’s features programmatically. Use these keys and Key Secrets to establish and maintain connections with other services effortlessly. We recommend regularly reviewing the API Keys and deleting unneeded API Keys, to protect your project from unauthorized use.
Info: API keys are project-specific and provide access to project resources. Keep them secure and rotate them regularly.
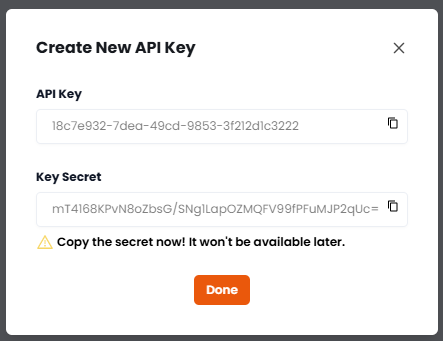
In the Settings > API Keys tab, select the Create API Key button.
The Create New API Key popup appears, providing you with your only opportunity to copy the API Key’s Secret! You can always come to this interface to copy the key, but the Key’s Secret is only provided during the creation process.
After securly storing your API Key and API Key Secret, select the Done button.
Your new API Key will appear in the list of API Keys.
Danger: DO NOT FORGET TO COPY THE API KEY SECRET! THIS IS THE ONLY TIME IT IS AVAILABLE.
The Automator Key is created for every project and is a protected API Key that cannot be deleted. Other API Keys you create can be deleted as needed.
In the Settings > API Key tab, select the Delete link for the API Key you want to delete.
Select the Delete API Key button in the Delete API Key confirmation popup.
You will see a message indicating that the API Key was deleted successfully and the API Key no longer appears in your list.
Clear Naming: Use descriptive names for your API keys that make it clear what the ket’s purpose is.
The Datastore is the core persistence layer used to store and retrieve variables required by workflows. It enables workflows to maintain configuration values, runtime data, and credentials in a centralized and structured manner.The Datastore system supports two primary types of stored values:
Plain-text variables (Datastore)
Encrypted secrets (Vault)
Together, these components create a unified data and credential management system. Functionally, this architecture is comparable to Automation Anywhere A360’s Credential Vault, providing a secure and structured method to store sensitive and non-sensitive data used during workflow execution.This system allows workflows to:
Store configuration parameters required by multiple flows
Persist values between executions
Securely store credentials such as API keys or passwords
Scope data to different levels of execution
The Datastore therefore acts as both a configuration store and a secure secret manager for workflow automation.
The Vault layer stores encrypted secrets using Fernet encryption (AES-128-CBC). This ensures that sensitive data is protected at rest.Typical values stored in the Vault include:
Although Datastore and Vault values are stored separately, they are accessed through a single resolution interface. This allows workflows and integrations to retrieve values without needing to know where they are stored internally.For example, when configuring a connection that requires credentials, the system allows users to select values directly from the Vault rather than entering sensitive data manually.
When retrieving a variable, the system resolves values according to the following priority:Run → Flow → ProjectThis means the system checks for values in the most specific scope first.
Run-level variables
Flow-level variables
Project-level variables
If a value exists at multiple levels, the most specific scope overrides the broader scope.Example
Scope
Variable
Value
Project
API_URL
https://api.company.com
Flow
API_URL
https://sandbox.api.company.com
When the flow runs, the system will use the Flow-level value, since it overrides the Project-level value.
Vault secrets are used to securely store sensitive information required by workflows, integrations, or external service connections.Secrets stored in the Vault are encrypted using Fernet (AES-128-CBC) and can be referenced within workflows or configuration interfaces without exposing the raw values.Typical secrets stored in the Vault include:
Apps that you have integrated EKB into using your API Keys appear in the Project Integrations page. Integrations that are connected are shown and can be disconnected as needed.
Info: Migration Notice: Global integrations are being phased out. When you re-authenticate with a service in this project, it will create a new project-specific integration.
View and manage project-specific integrations:
OAuth Integrations: See connected services (Gmail, Slack, etc.)
Integration Details: View scope, service name, and connection date
Remove Integrations: Disconnect services when no longer needed
Project vs Global: Distinguish between project-specific and global integrations
Warning: Project integrations are specific to this project. Global integrations (legacy) are being phased out and will be migrated to project-specific integrations.
The Logs tab in Settings gives you visibility over the changes that have been mage to the project settings as well as records of chat prompts and responses. This informatimon can easily be exported to a CSV file. In this section you will learn about the different aspects of the logging system in EKB.Logs helps you with:
Audit Trail: View all project actions and events.
Filtering: Filter by user, date range, action type, and role.
Export Logs: Download logs for compliance and analysis.
Search: Search logs by user email or action.
Real-time Monitoring: Track activity as it happens.
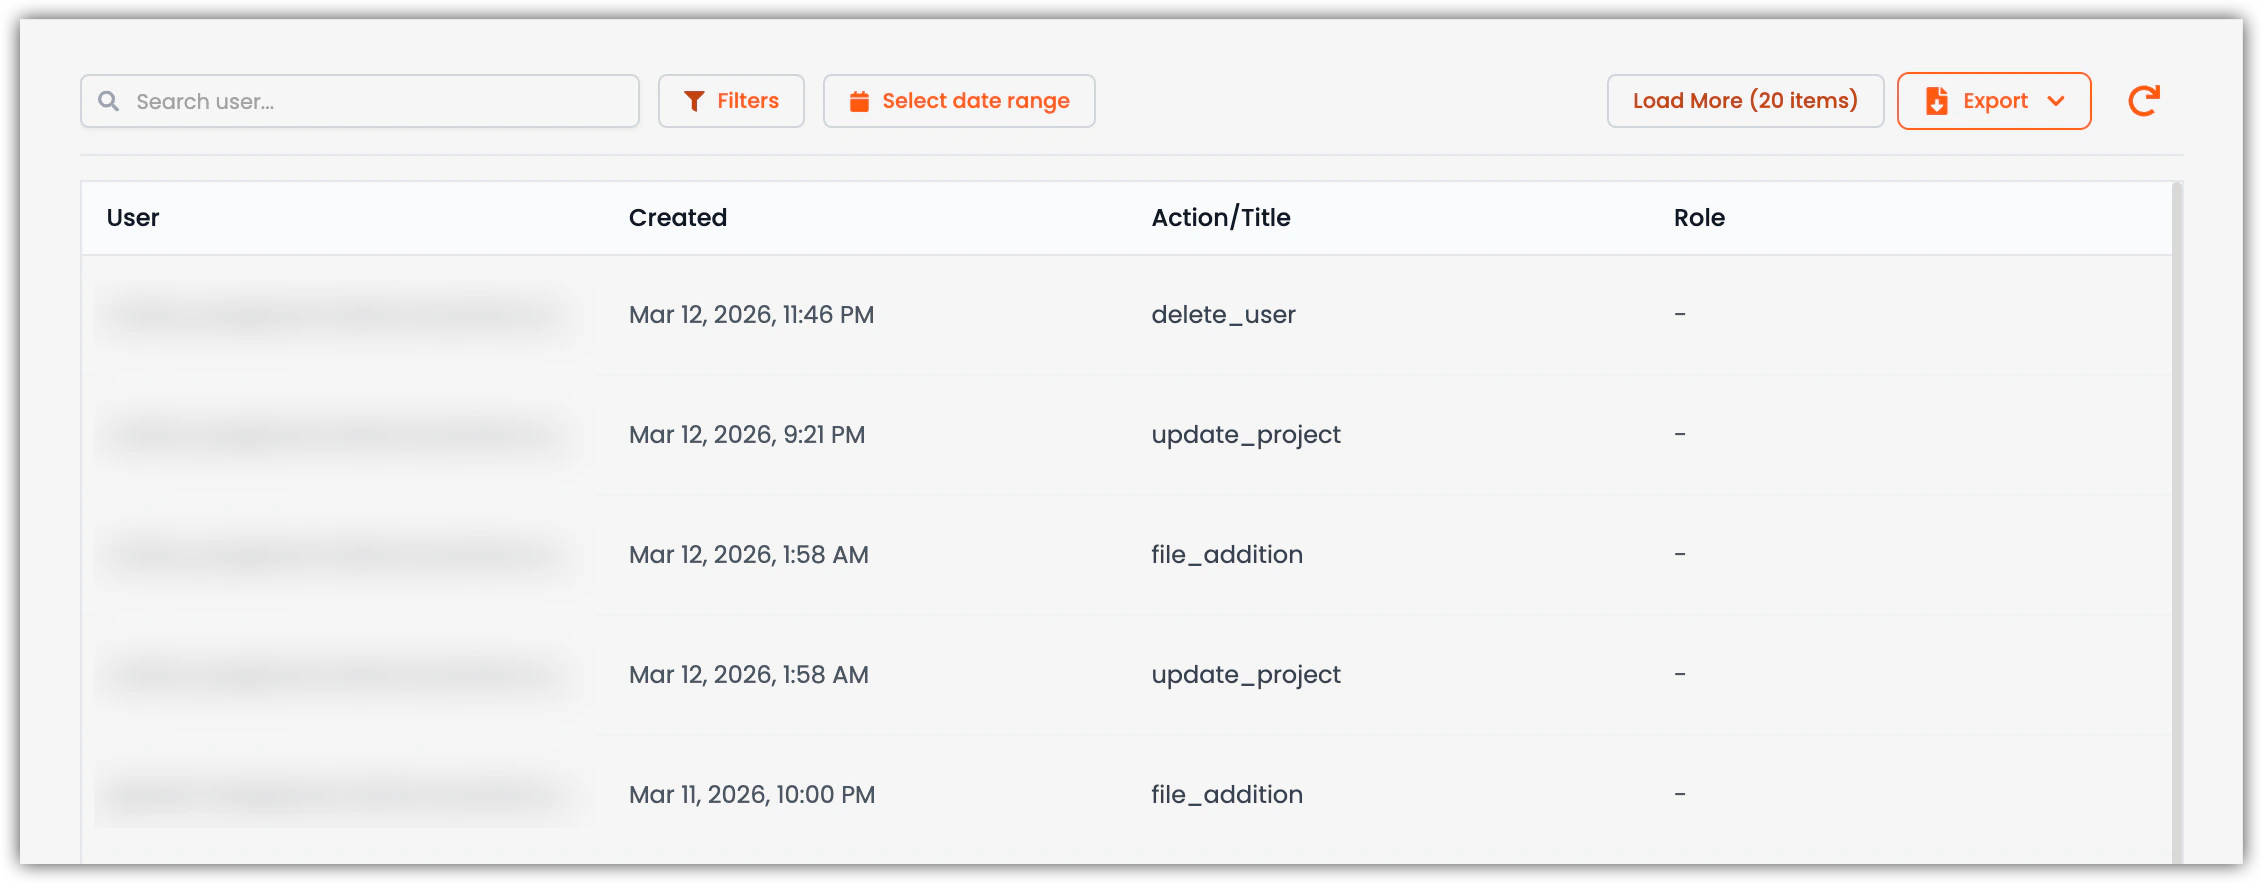
The view you find on the Settings > Logs page provides a truncated view of the activities taking place within your project in real-time. You can see who is taking action, when they do it, and what action they took. You can search for a user or filter by Action Type, Document Count, or keywords within a chat message. You can refine your results by date range and export everything to a CSV file with ease. Here you will learn about the different ways you can use the Logs feature.
Use the Filters and Date Range to get the records you want to capture, then select the Export button. The log file is automatically downloaded as a CSV file to your Downloads folder.